Last updated on January 22nd, 2024
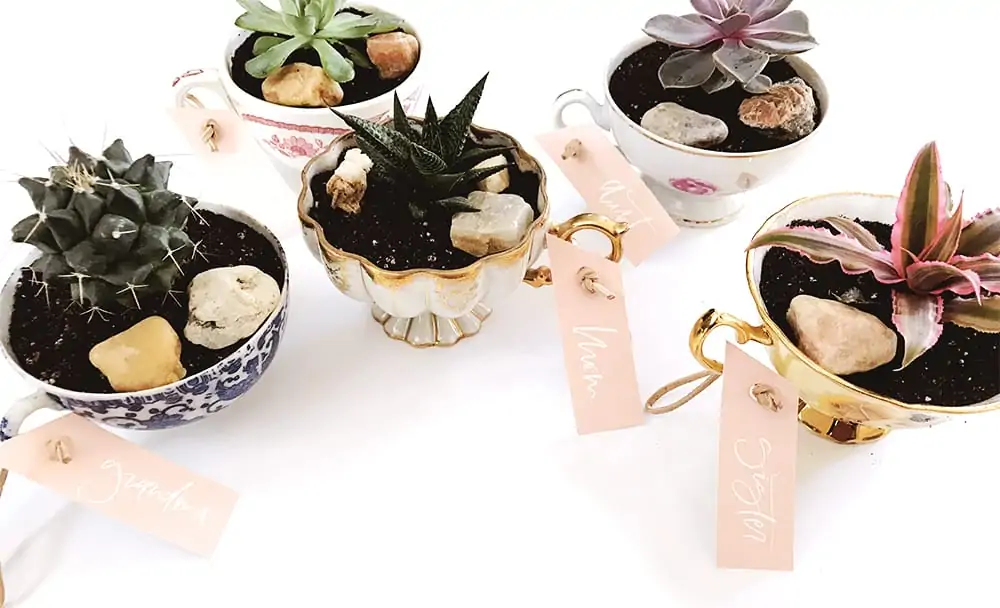
These DIY Mother’s Day teacup planters, beautifully created by our friend Lindsey Swink, owner of Bare Ink Co., are so clever and unique!
Any mom in your life will love the “I made this just for you” aspect and cherish it forever!

We are so lucky to have Lindsey as one of Housewives of Frederick County’s new monthly local expert contributors.
In 2011, Lindsey created Bare Ink Co., a modern calligraphy and wedding/event design studio based in Frederick.
As a twenty-something navigating her way through adulthood, she’s always game for a good DIY challenge and known for her love of brunches, podcasts, and thrift shops.
Whether she’s working with engaged couples on custom wedding stationary or designing fun details for a party or event, her goal is to make the world a little prettier and way more personable, one handmade item at a time.
We asked Lindsey to use her creative talents to excite and inspire our readers to make a fun and useful DIY project at home.
As we expected, she did not disappoint!
She threw these DIY Mother’s Day teacup planters together just in time for Mother’s Day!
AND she even included a link to her printable gift tags to add to your creation!
So without further ado, here’s Lindsey!
DIY Mother’s Day Teacup Planters
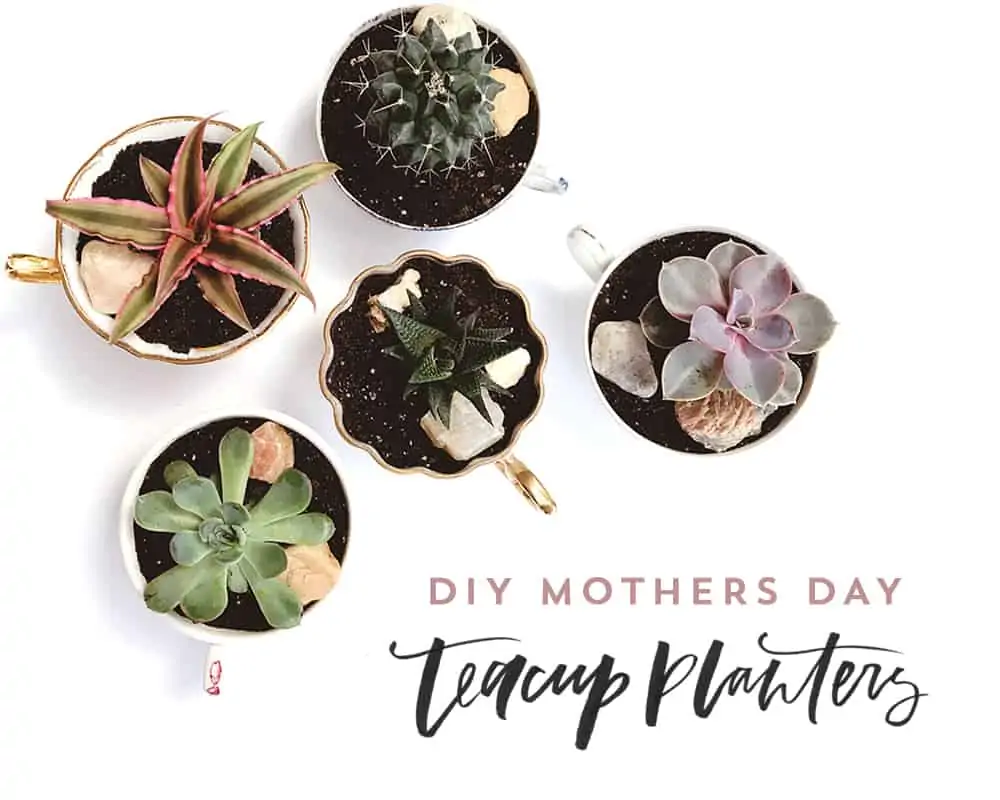
It’s no secret that Mom’s are suckers for handmade gifts that come from the heart.
Remember that macaroni art you glued to construction paper in preschool?
Not only did she adore that masterpiece enough to hang it on the fridge back in the day, but I bet she still has it in a scrapbook somewhere.
This year, I wanted to recreate that nostalgic feeling with a cute handmade gift that will brighten her day!
And best of all, it’s easy and affordable enough to make one for ALL of the Mama’s in your life!
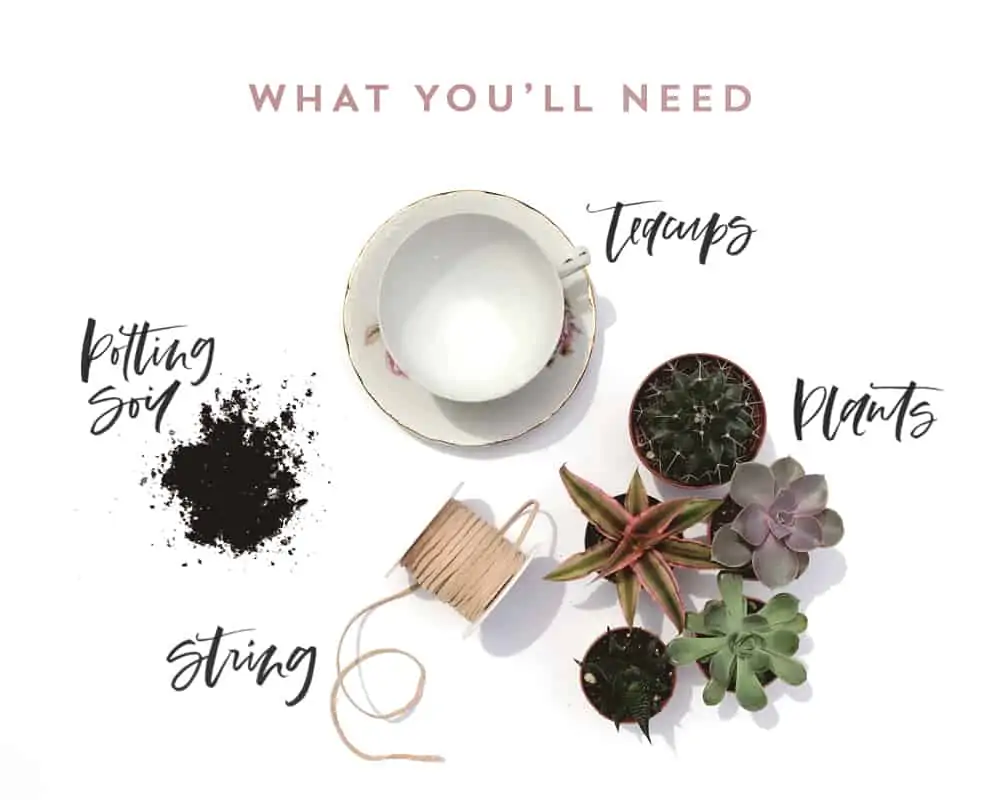
What you’ll need:
- Vintage teacups (I found mine from antique + thrift stores)
- Mini Gravel (Amazon) for drainage
- Small succulent or cacti plants (Amazon)
- Potting Soil – I used Premium Succulent & Cactus Potting Soil Mix (Amazon)
- String (Amazon) to attach gift tags
STEP ONE
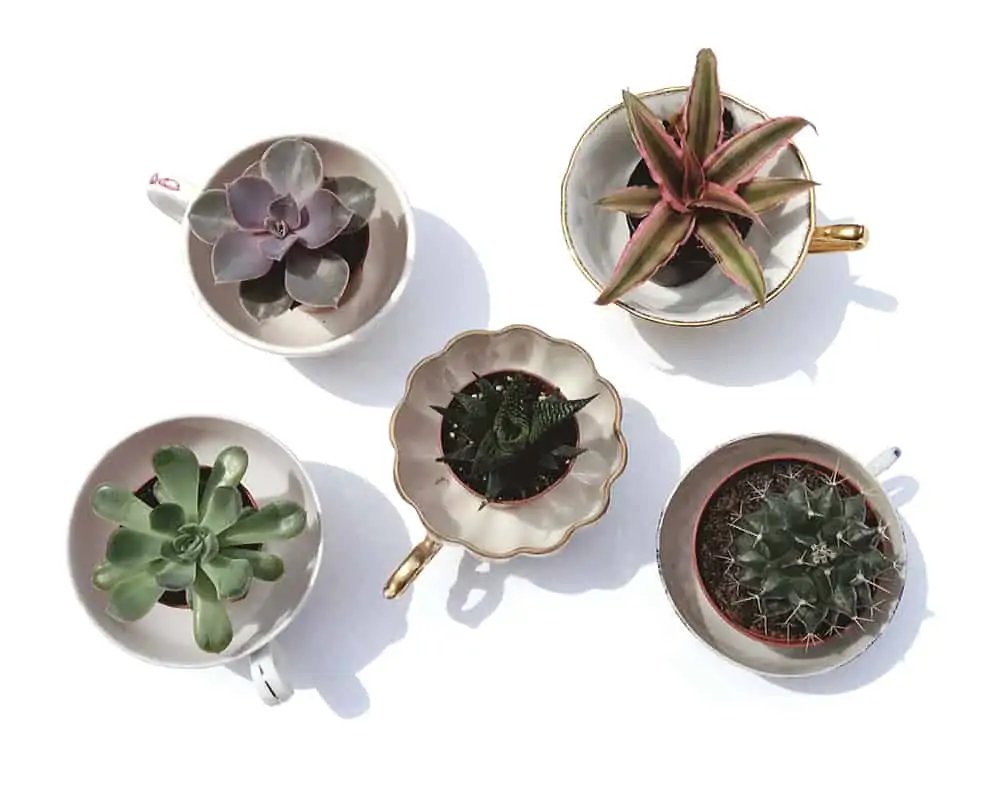
If you’re making multiple, plop in each plant to a corresponding teacup to try it on for size and see what fits best before planting it.
STEP TWO
Once you know what’s going where, first add a layer of mini gravel to the bottom of each teacup.
The gravel will help with water drainage since you can’t add a drainage hole to the bottom of the teacup.
Then, fill each teacup with about 1” of potting soil.
Remove your plant from its original plastic pot and use your fingers to gently loosen the root and remove any excess soil.
If you’re planting cacti, be sure to use thick gloves when handling so that you don’t prick yourself multiple times and curse out loud like I did.
Place the plant in the center of your cup and fill in the surrounding areas with the potting soil.
Pat down the soil to keep your plant in place.
STEP THREE
Time to decorate!
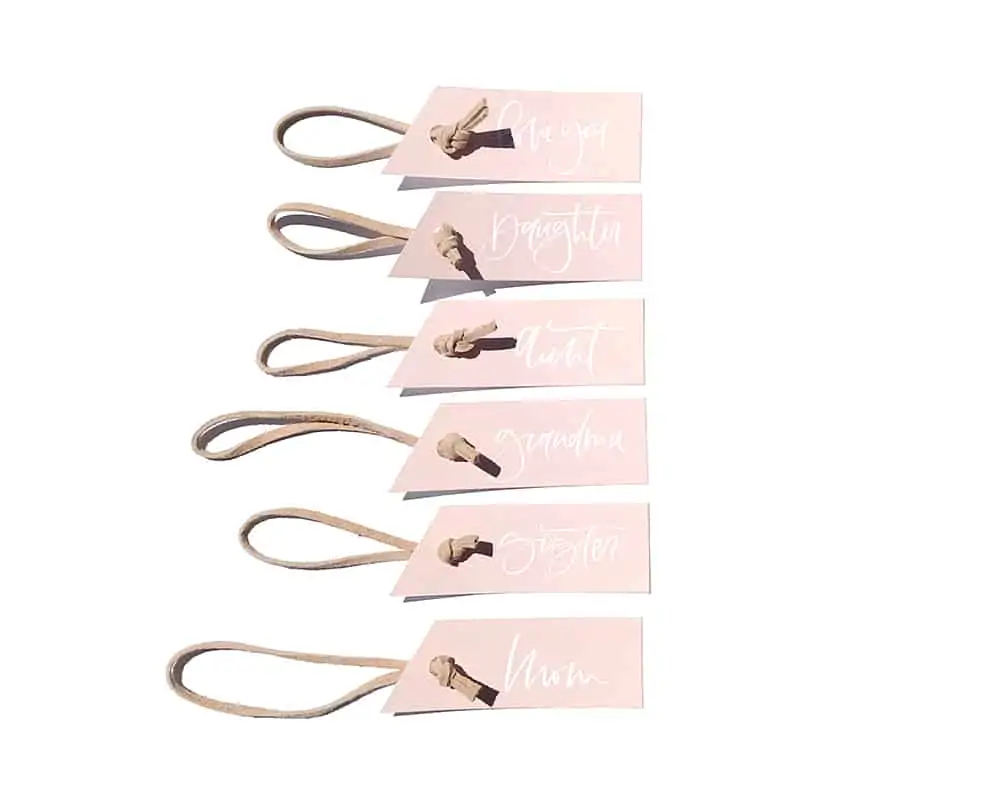
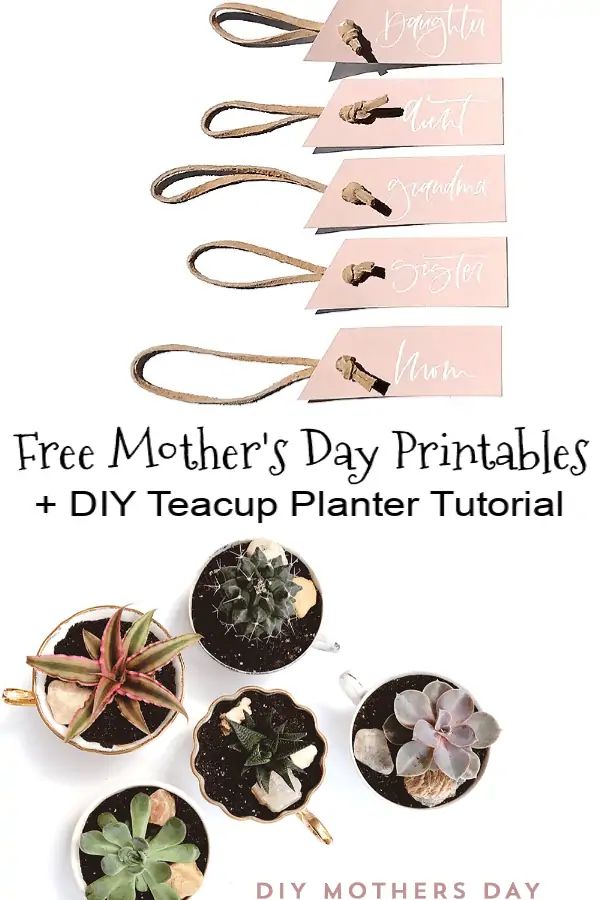
Garnish the top with a pretty rock or two, maybe some more of the mini gravel, and download these Printable Gift Tags, one for each special mother in your life.
Cut out the tags, punch a hole at the top, thread a string through, and tie it onto the teacup handle.
Easy as that!
Mom’s will love this sweet little reminder of your love that will compliment any area of their home.
And they’re so adorable that you might just have to make one for yourself too 😉
You can find so much more of Lindsey’s gorgeous work at her Etsy Shop, Bare Ink Co. and her Instagram page, BareInkCo.
What other DIY projects could you make using Lindsey’s printable gift tags?
We’d love to hear about it in the comments!
- Resorts Near Frederick for a Weekend Getaway - April 10, 2025
- 2024 Holiday Gift Guide: Shop Local in Frederick, MD! - November 1, 2024
- Luna Aesthetics: Botox, Filler, & Weight Loss Services - October 8, 2024

What about drainage
Great question! Our recommendation is to put a little bit of gravel in the bottom of the teacup and don’t water as often as you normally would.
Love it!!!!!!!!!!!!!!!!!!!!!!!!!!!!
Aren’t these adorable?? And you can print out the tags that she made to attach to the planters. So clever!