Last updated on January 22nd, 2024
This do it yourself painted antique patina chandelier was the deciding factor in me saving a bunch of money and falling in love with my dining room all over again!
In this post, I’m going to give you the easy steps for upcycling your plain old brass chandelier into a beautiful, farmhouse inspired focal piece.
Do It Yourself Antique Patina Chandelier
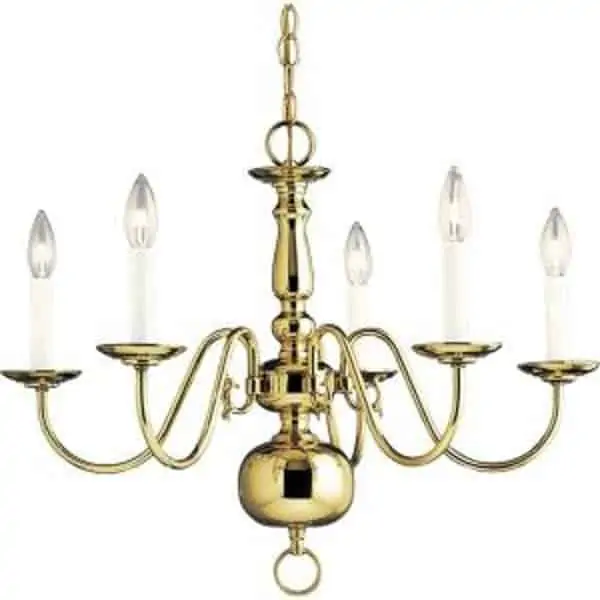
Do you live in a house that, when it was built, it included one of those basic factory-made brass chandeliers in the dining room?
Not that there’s anything wrong with that type of chandelier.
Actually, it’s a nice style because it suits most types of decor.

However, when my son was born and I quit my full-time job to become a stay-at-home mom, I craved some creativity in my life.
Admittedly, I have never been the creative type and can be intimidated by do it yourself home projects.
Nevertheless, I wanted to prove to myself that, with some motivation, I really could do this project!
After all, I had given birth to my son at almost 39 years old.
If I can do that, I can do anything!
I kept looking at the chandelier wondering what I could do with it to make it look more shabby chic, which was the style I wanted in my home.
So I went to Michaels looking for some inspiration.
My first challenge was getting the chandelier down from the ceiling.
If I had to, I would have figured out how to do it.
However, since I have an electrician for a husband, I thought I’d leave it up to the expert and he was happy to oblige!
He hung the chandelier from a thick wire in the shop area of our basement.
There is where I was able to do my magic on it.
The steps are listed on the back of the kit box.
Step 1
Spray on the metallic base coat and let it dry.
Then gently rub the base coat with the abrasive pad.
Step 2
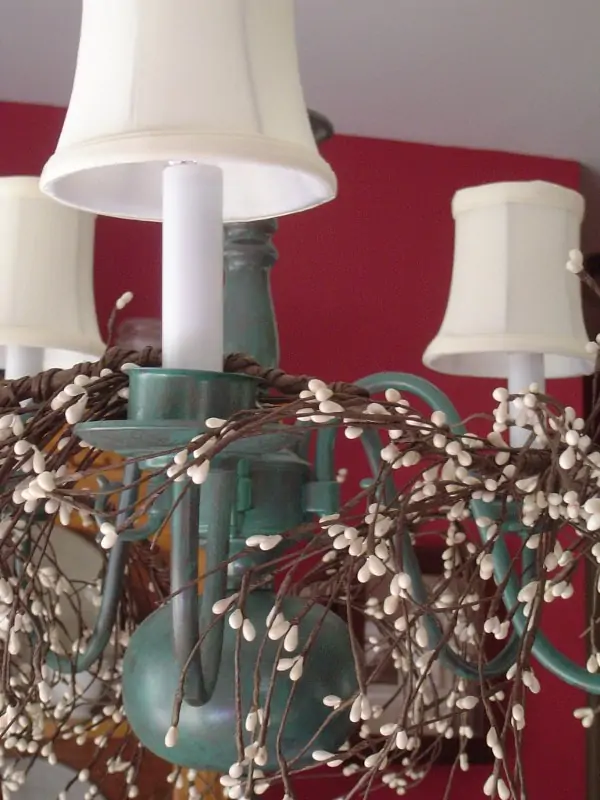
Use the sponge to apply the patina top coat.
Step 3
Immediately use a damp paper towel to dab the patina paint to give it the exact look I wanted.
And that was it!
I was so proud of my creation but it didn’t feel complete.
I felt as if it needed something else.
Then it came to me.
It needed little mini lamp shades to complete the shabby chic, farmhouse look.
So, I searched and found a great selection on Ebay under mini lamp shades.

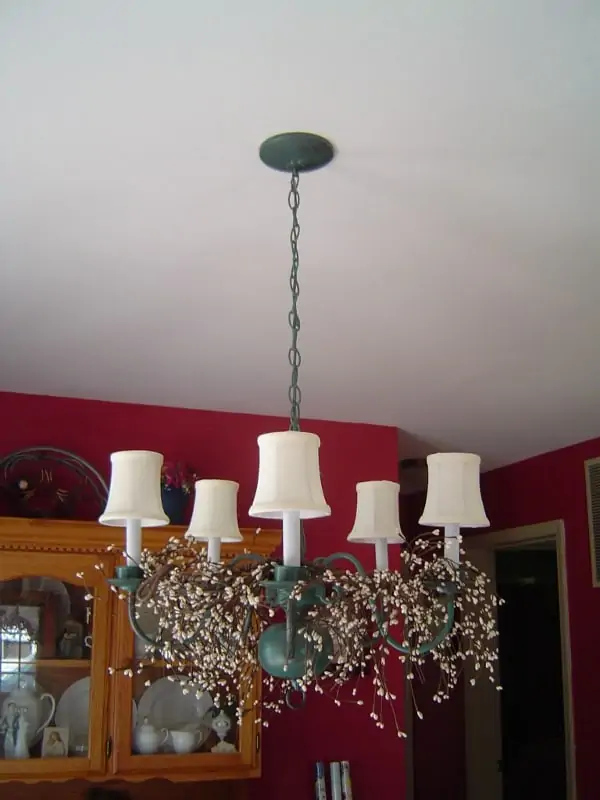
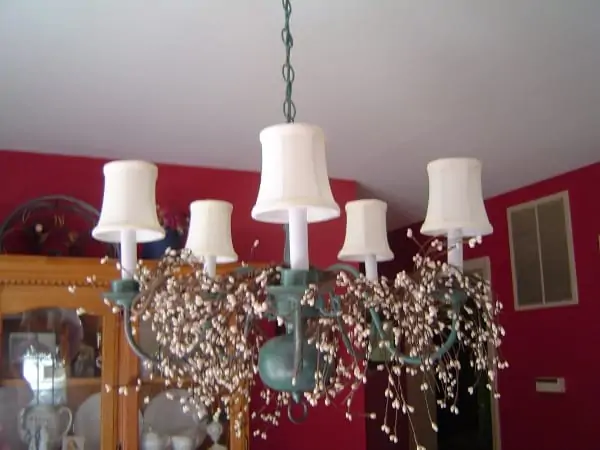
And here, my friends is the completed look.
Of course, my husband re-hung it.
It was around the fall during the time that I refinished this chandelier.
So I bought some grapevine garland with the little fake berries and wrapped that around the chandelier.

During the other times of year and certain holidays, I’ll wrap other things such as fall leaf garland or spring flower garland.
Or I’ll leave it as-is and not wrap anything around it.
So many possibilities!
Fast-forward several years later and I’m still very happy with my little chandelier project!
I feel that it fits our home decor so much better than the original brass look that it originally had.

So, if you’re a little fearful of tackling a new project like I was, just go for it!
Really, what do you have to lose?
The more you do these kind of home decor projects, the more confident you’ll become.
And it’s so rewarding to see the final product and say that you did it!
For more fun DIY projects, click on over to:
DIY Succulent in a Teacup Planters
- 2024 Holiday Gift Guide: Shop Local in Frederick, MD! - November 1, 2024
- Luna Aesthetics: Botox, Filler, & Weight Loss Services - October 8, 2024
- Haunted Houses Near Frederick, MD - September 10, 2024

Looks great! Super transformation! Life to the full, Melissa
Thank you Melissa 🙂
You made it so unique; I can’t believe it’s the same chandelier???? I love it!!
Maybe you should go into business–have people bring their things to you for
transformation!
Thank you Cheryl! It’s fun to see what you can do with something that’s simple and turn it into something totally different.
Good Job
I think I did that about 7 years ago before I had my blog and I was so excited to see my brain waves was on the right track, everyone was painting their chandeliers
yours is lovely
So funny we both did this 7 years ago. And I bet you still love yours as much today as you did then. Thanks so much for your sweet comment.